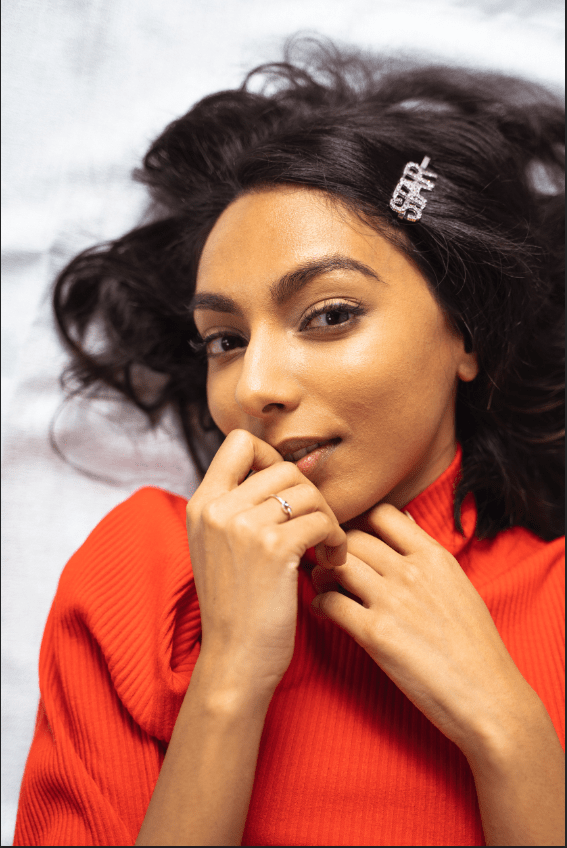
This was project was like “Removing Distractions”. I used the Spot Healing Brush tool but from what I learned, Healing Brush tool is a little different – it takes the textures and using it, you can place it wherever you want (press Alt when clicking). If it shows no effect, then the Spot Healing Brush tool can be used. Until now, I’ve didn’t know you can combine the two layers into one. Say that I have two layers which that I used the Spot Healing Brush tool to hide remove blemishes on different parts of the skin. I press Ctrl + E to merge them, and if I click on the eye on the layer (which that turns the visibility on & off), I can see they can be turned on & off at the same time. Very Interesting! I’m happy with my work and I prefer using the Spot Healing Brush unless I really need to use the Healing Brush tool.