This is my project of creating a Gang of Ninjas. At the very start, pretty much everything was easy to do, I had to create different shapes for my ninja. I pressed “Object menu -> Arrange -> move to back” whenever I needed to move the shapes behind the other shapes, just like putting the legs and arms behind the body.
The part of creating the mask was pretty hard and confusing, except making a larger oval and the circle, overlapping the two and using the Align Palette to position exactly. Using the Pathfinder palette and making sure that the mask and the face was the hard part, so I asked help from my friend. I made the eyes within the large circle of the ninja, drawing a small circle and filling in it with black, and making another copy. Once that’s all done, I grouped all the parts of the ninja’s body.
Drawing a selection around the complete object, copying and pasting a duplicate was also the hard part. It was when I had to create a stroke for the head and the body of the ninja. I selected the Appearance mode in order to create the stroke, aligning to the outside of the head at 4 pt at 100% black said in the instructions. My friend, helping me, said I could choose any pt that was right for me. I also had to create the stroke for the inside too, but in a different color. I selected a new stroke, 4 pt colored in red but a little lighter then regular. The another thing that was hard was creating a stroke for my ninja’s skin tone. In this step, I fill the color of the skin tone whatever I wanted, add a slightly thinner stroke at 3 pt aligned to outside using the 90% red, and another stroke for the inside of the facial area, slightly a darker color. Like other strokes on the previous steps, it doesn’t really matter that I should choose pt exactly said on the instructions, whatever I do is right for me.
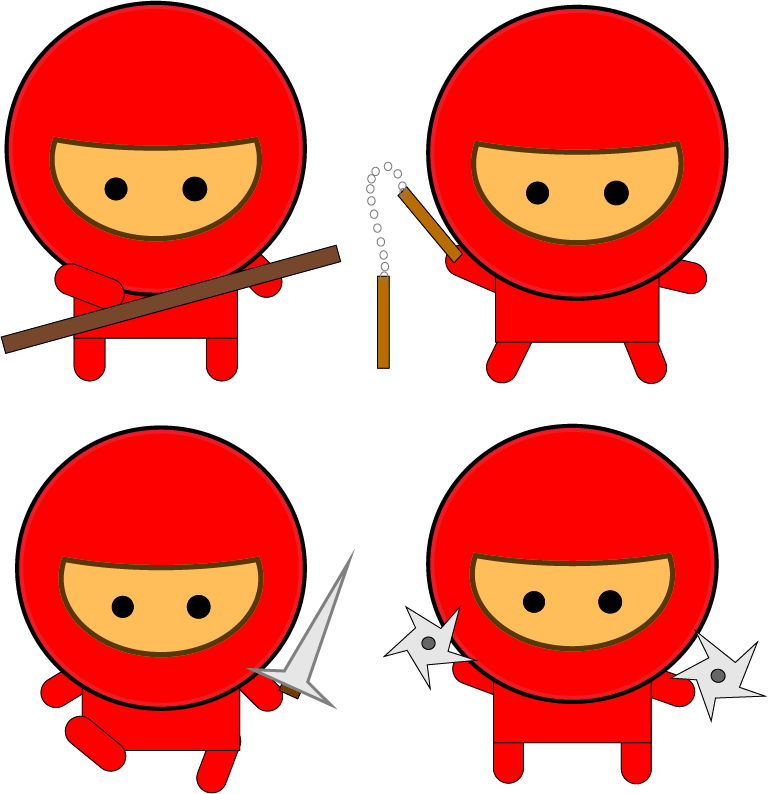
Once I finished the basic version of creating my ninja, I copy & pasted my multiple variations of my character. I had to create different poses of the other ninjas, so I ungrouped one of the ninjas arms and legs, changing them into different positions to make the exact different poses on the instructions. When finished, I put them in four different positions.
I also had to create the weapons for each of the ninjas as well. I created a long thin rectangle, colored in dark brown, for the stick. I used the star shape tool for the throwing weapons. Clicking on the star, I moved the points into different directions to make the weapon look accurate and the solid circle in center. For the sword, I used the pen tool instead to create prefect triangular shape for the blade, and a three-sided shape to represent the chamfer. The two Numchuk handles part was the hardest until I found out I forgot to click “Object > Blend > Make”. I grouped all of the weapons except for the stick. I adjusted the sizes whenever I needed.
