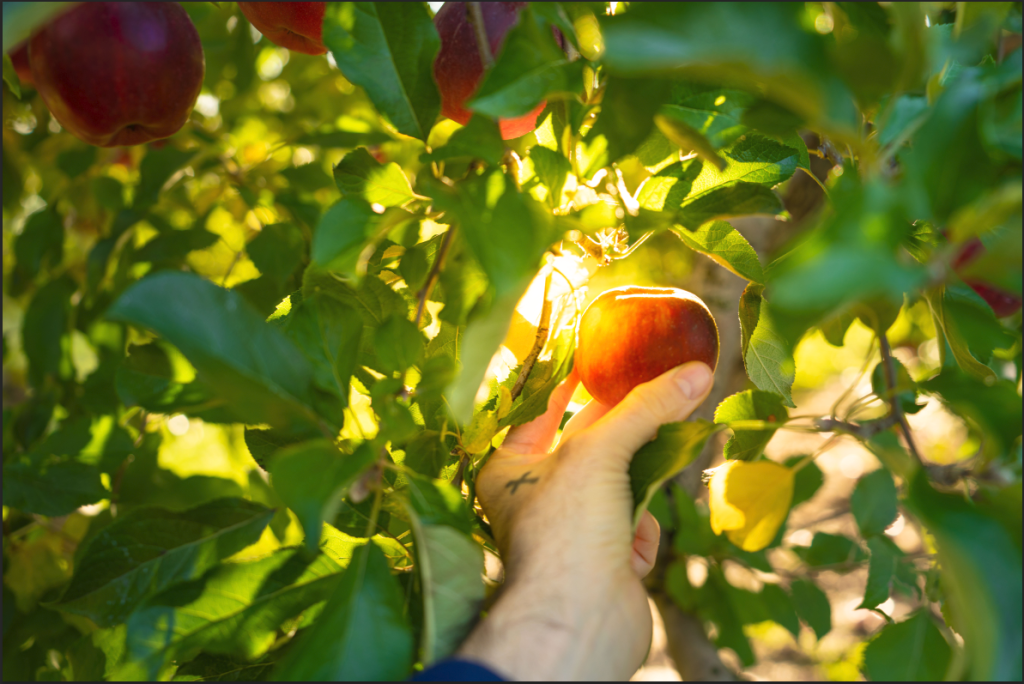
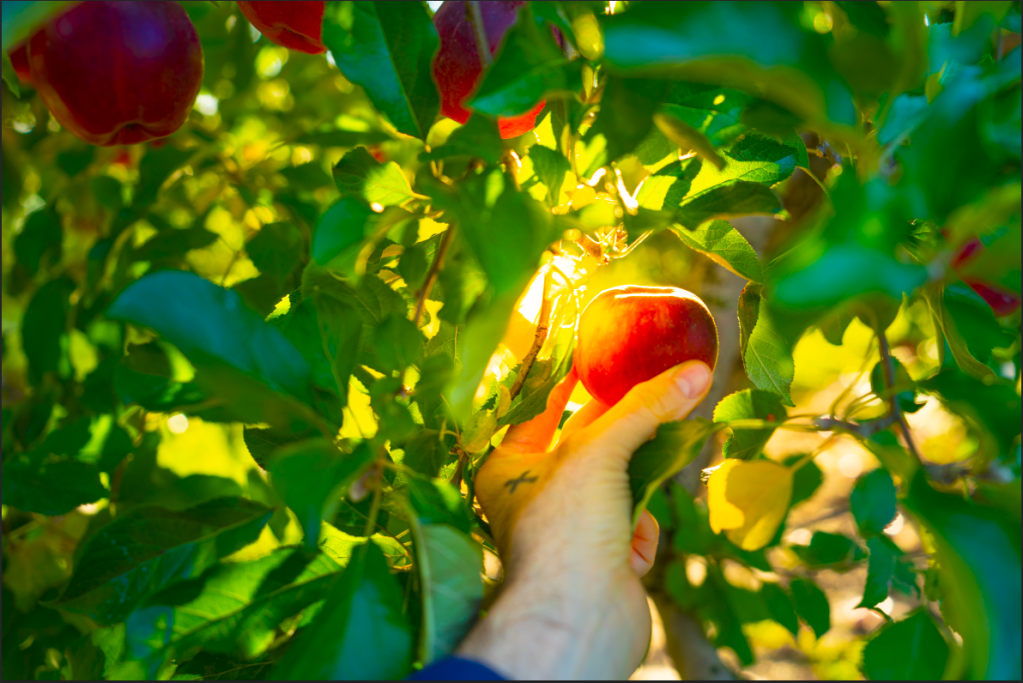
This method in Photoshop was stressful because I did not know how to start the project when I opened the RAW image. I watched the entire video first to understand what’s done in the project. I wanted to follow the instructor, but I now understand that how different the RAW is presented shows the different types of computers we use. Say, the one that I use is a PSD, the instructor uses is a MAC. What I mean is when the RAW image shows up, on the right side, there different layers in which are to change the quality of the image. The layers are in different names with no icons presented in the PSD computer, however, if it’s an apple or MAC computer, different icons are presented, and the names are just below them, not on the right side, but in the center. Despite knowing this, all the layers work out the out the same way in both computers. Anyway about the image – I used a higher quality version and as I followed the instructor, I played around with it a bit and made the image look a lot more saturated. It made it even more colorful and prettier which made me feel really happy. And a very important information – always make sure to check “Open in Photoshop as Smart Objects” so the results won’t be complicated and you can go back and change it you’d like. Just move the mouse and click on the link below.
