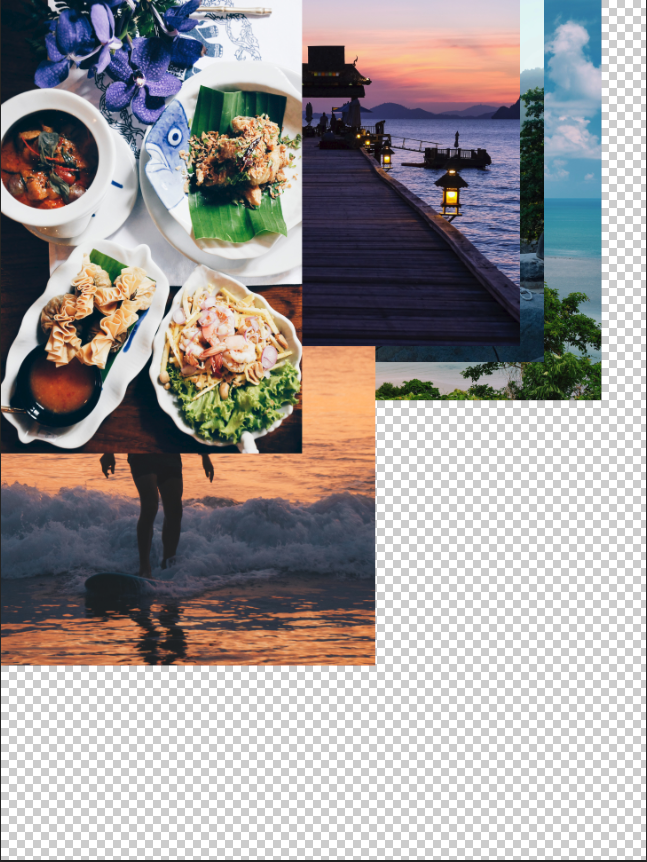
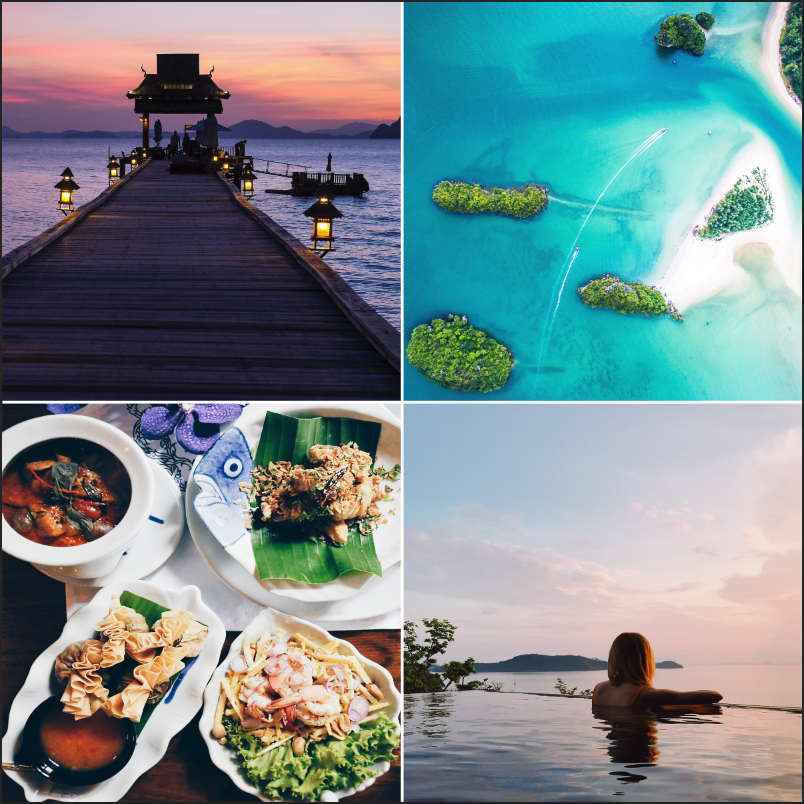

This was very similar to the “Non-Destructively with Smart Objects” project, except that it had 8 different pictures of different categories. I also had to create a white background and fill with black squares to allow the image to fit into it, so when I move it around, it’ll stay inside the square no matter I direction I go to, or even I resize it. I do this process by making into a smart object (right-click & click on “Convert to Smart Object”) at the start, placing the images into the background, and right-click to select “Create Clipping Mask”. In your layers panel, be sure to move under the layers, “Layer 1”, “Layer 1 copy”, so the photo collage will stay under the square backgrounds. It’s very important to add the smart object first because when you resize the image, so it won’t lose it’s resolution (to lose quality). I also used transform (Ctrl + T) and duplicated (Ctrl + J) the images and the white lines. I created a new layer and used the Rectangle Marquee tool, Shift + Backspace selected “white” under the layer for the white lines.
