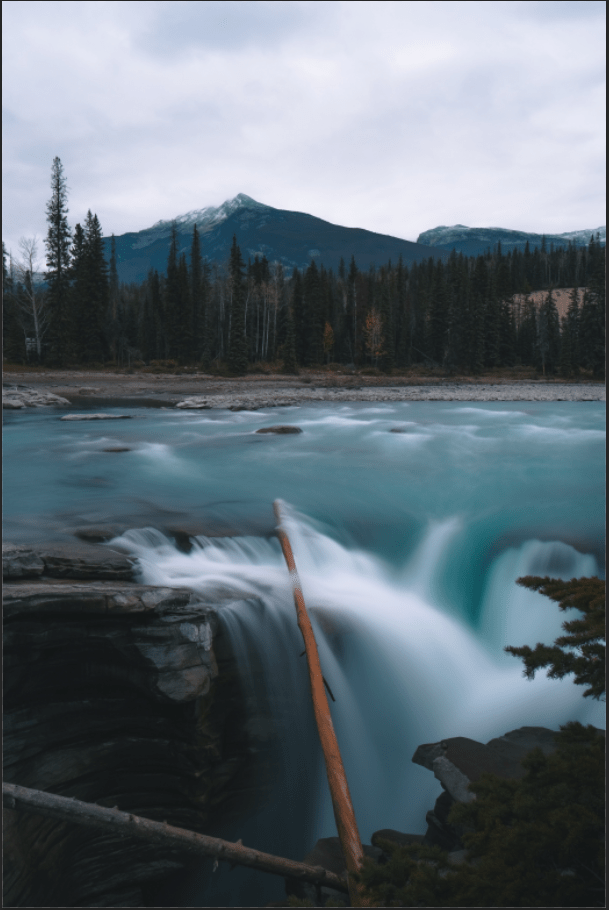
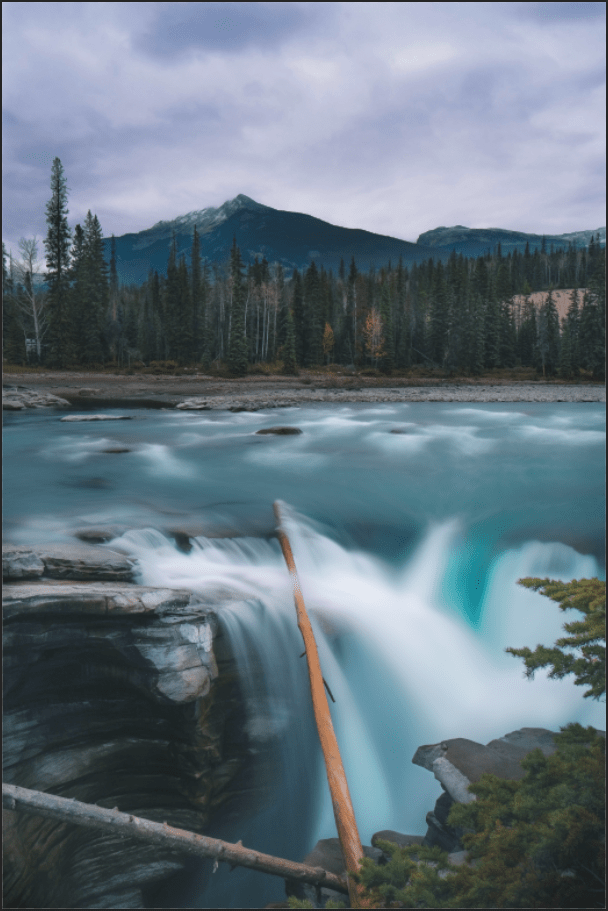
This project pretty much has the same as the previous ones, because it has the process of doing Ctrl + I to invert the layer masks and using the paint brush tool to lighten or darken the parts of the image. But there was somewhat a different process of lightening and darkening which is known as Dodge and Burn. In this process, I select the paint brush tool, and notice at the top of the screen, the Flow is at 5% and the smoothing is at 0. I make sure the colors are visible, which means the white is above the black (around the bottom of the Tool bar). As I paint the light the trees and the white parts of the waterfall, and darken the some parts of the rock, and turn off & on (eye on the left side of each layer), I find the picture look absolutely beautiful. The waterfall reminds me of the movie, Ice Age.
