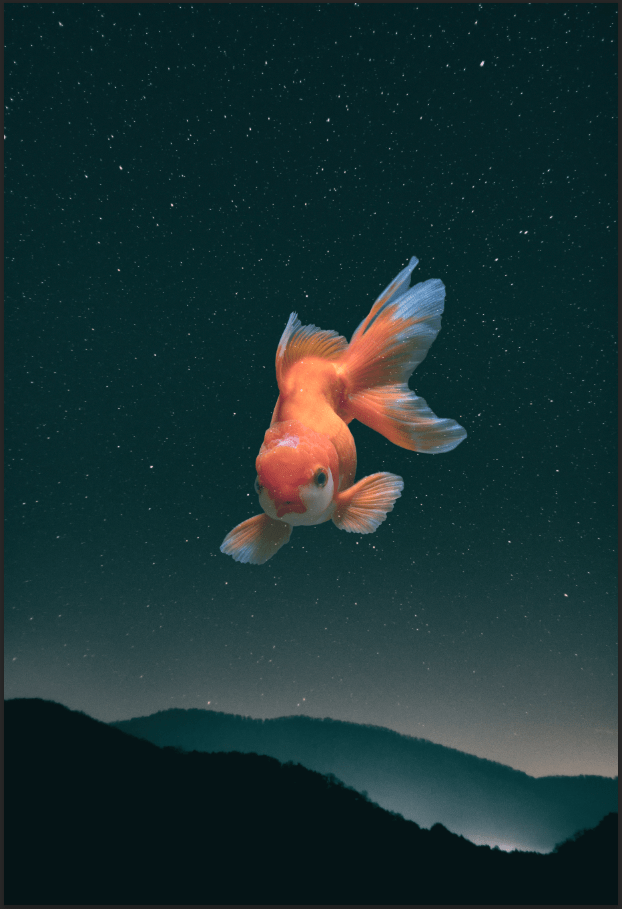
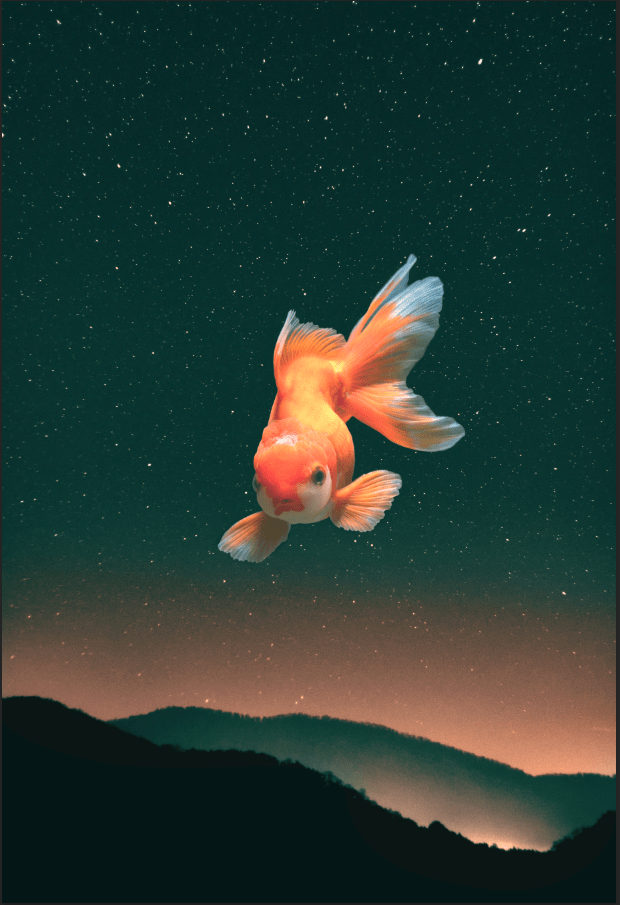
A very interesting project done in photoshop. I can add a single object like this in a background image using Blending Modes. I don’t have to memorize all of it, but its obvious that I can select any type to see how I want my image to see fit. But the most important part of it is knowing that whatever blending mode you choose is going to result in many different ways. For instance, the image with the fish visible and the background invisible, I can use “Lighten” or “Screen”, or if it’s the other way around, I can select “Darken” or “Multiply”. But if I liked to do coloring with the image, “Overlay” and “Softlight” would be selected. I used Screen mode for this project. There are some issues users can come across when using this, like mine had stars visible around the fish, so I used the Paint Brush tool to prevent it. Color Fill (Solid Color) is also usable if I wish to change the background to look brighter or darker. Blending mode can be used, but I try looking at each of them so I can select the one that’s the best. Using the opacity and changing the color fill will lower the brightness if the the background looks too bright. I can also use sample some parts of the image, (I mean put some bright color under it) using the Eyedropper tool to pick it and using the Paint brush tool to put in it after creating a new layer. I used Soft Light for this part. Blending Modes can tough at first, but as long as users know how it works, they’ll have no trouble with using them. I don’t know if I’ll using them in the future, but they were fun knowing what they are how they work.
