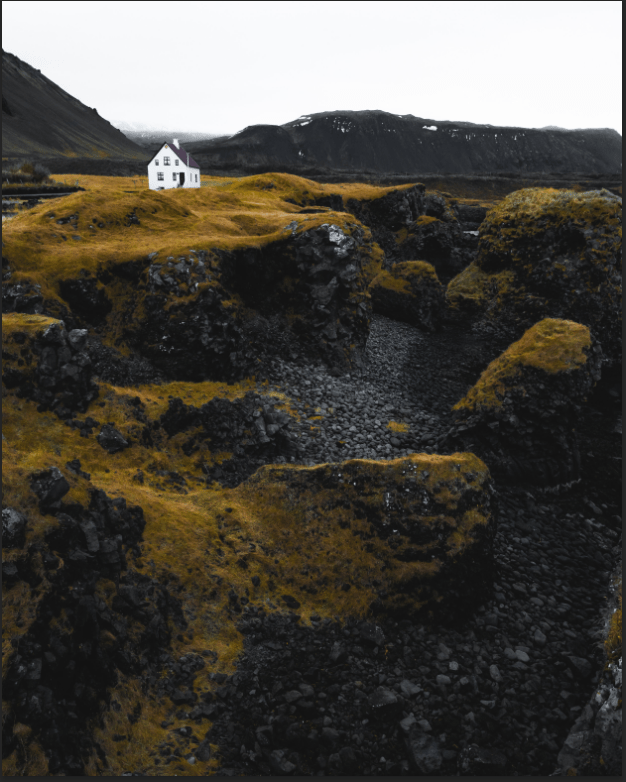
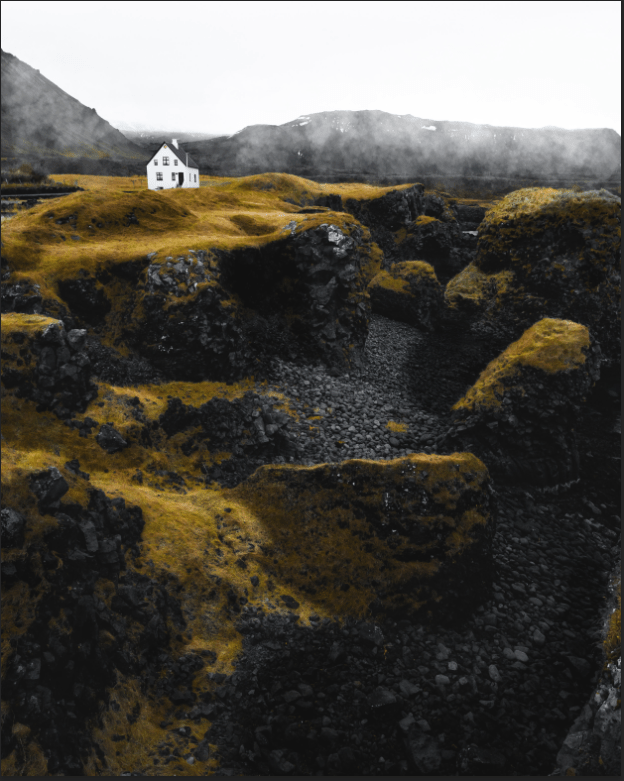
This is my favorite project of the 30 days of Photoshop. I can’t really think of any other explanation, but I’m just amazed about how I turned my picture into a very refined one. Just like what the instructor said, the Brush tool is my favorite tool. But lets get down to business – when I was using the Brush tool, the opacity is not only available – the flow also appears on the top of the screen next to it. This tool helps to soften the color of the Brush tool, more than it does when lowering the opacity. If I can turn to low as 5%, it’d be soft like when I’m using the gradient tool. I used very low flow when brightening and darkening the parts of the image, and used the curves layer in both processes. Adding the fogs on the mountains around the top image was the best part. I don’t remember the whole process, but I learned that you can actually take the shape of anything, like a cloud, on the Brush tool. I can make any adjustments if wanted, just go to the Brush Settings at the top-left at the panel on the right (where you make all different adjustments on variety of layers) and adjust the Shape Dynamics, Scattering, Transfer, etc. I only used the 3 tools I just mentioned. And then I clicked “New Brush Preset” by on the menu icon on the right and named the new brush “PHLEARN Cloud”. With this, I can go to the Brush tool settings and notice the brush tool I just created is in there. I used it to make fogs on the mountains (around the top of the image). With that being said, I enjoyed this project very much and I’m happy to know that any users can create their own brush style and place it into the brush settings.
